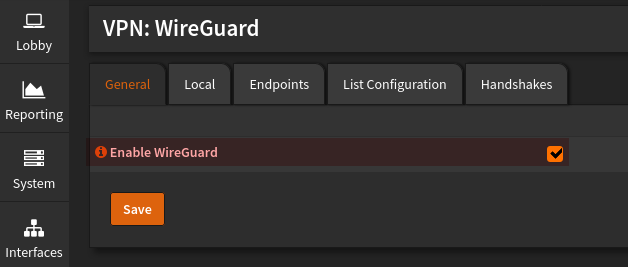
VPN -> WireGuard -> Enable WireGuard. Then just hit save to apply the changes.
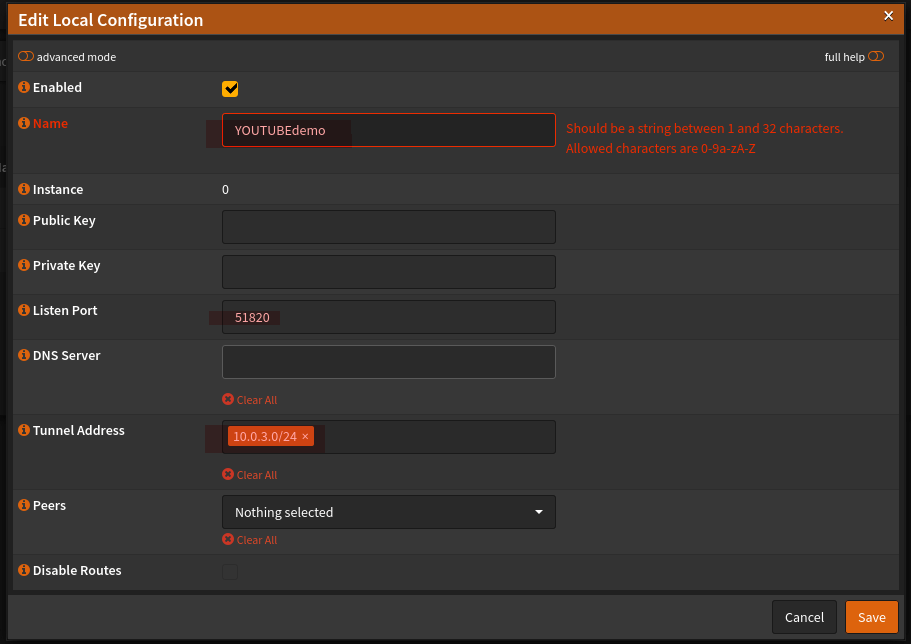
3. Add new server configuration
VPN -> WireGuard -> Local -> Add.
4. Add new endpoint
VPN -> WireGuard -> Endpoints -> Add.
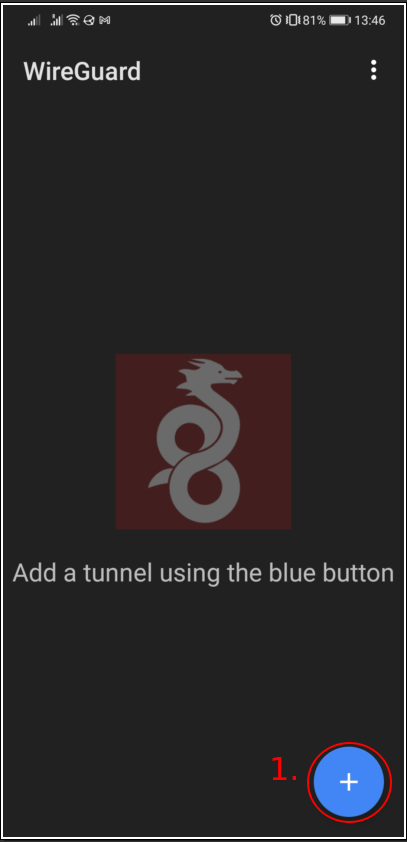
5. Configure your endpoint
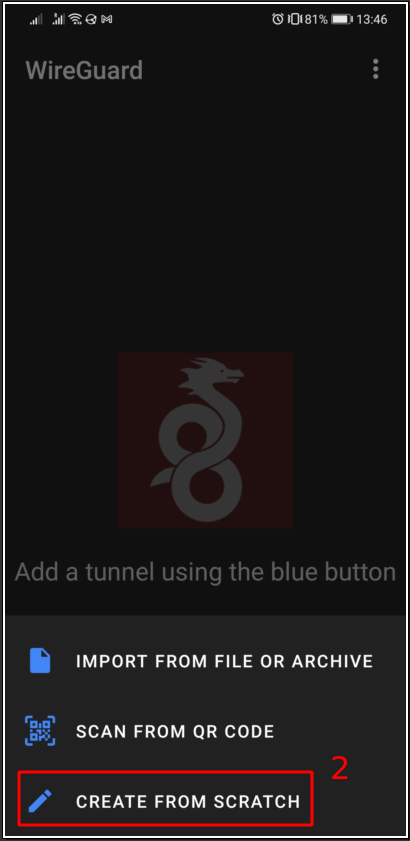
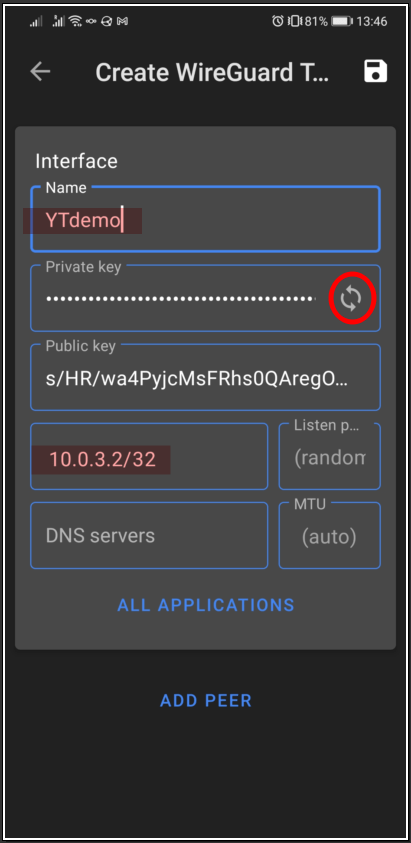
I will demonstrate the process of adding new peer on my android phone. Please follow the instructions below. After pressing “Add Peer”, feel free to minimise the App on your phone in order to receive and copy a server public key. Process for that is described in the next step.
5.1. Exchange public keys between the client and the server
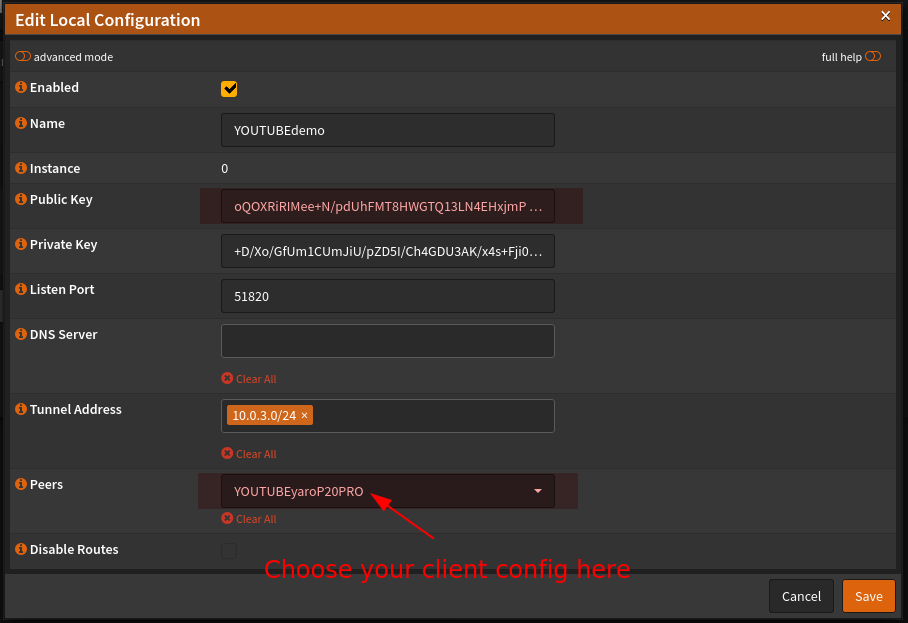
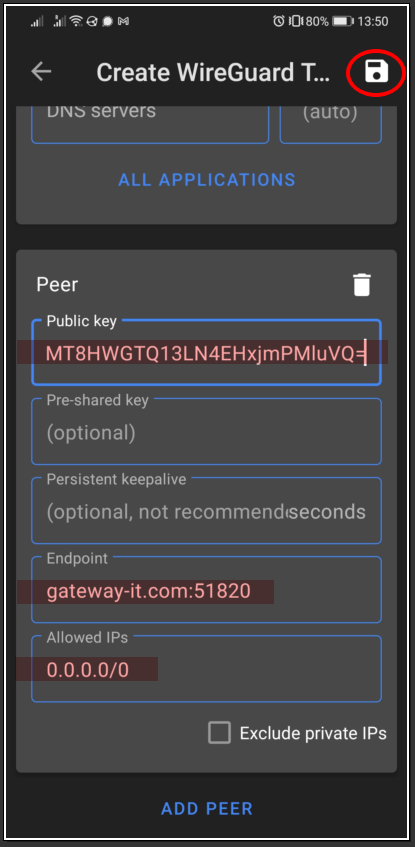
VPN -> WireGuard -> Local -> Edit. Then copy the public key and send it over to your client. Fill in the information about the server address, port, and specify 0.0.0.0/0 as “Allowed IPs”. On the OPNSense side, choose your client (peer) or multiple peers if there is a need and click “Save”, on the client side tap “Save” icon.
NOTE! Allowed IPs section adds routing tables to your client, so in case of a split-tunnel type of setup, specify all of the allowed internal CIDRs separated by comma.
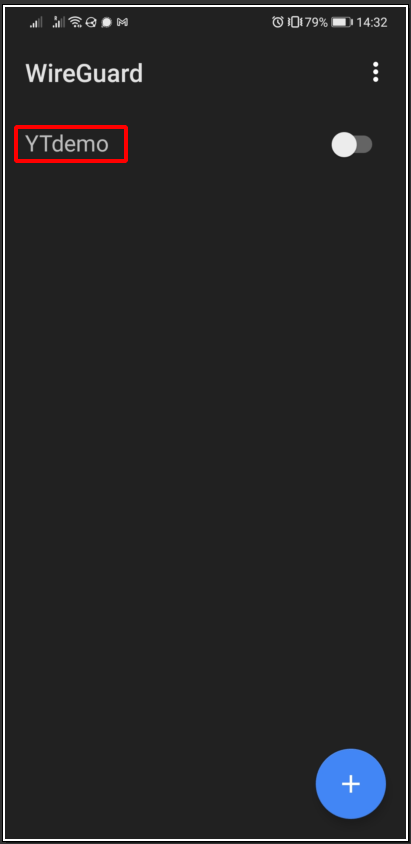
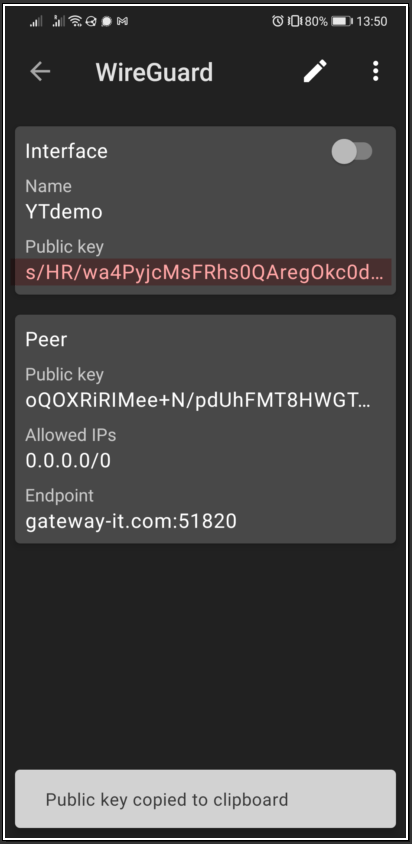
After saving the config on your phone, go back to the list of servers, tap on the server name (not the switch!), then tap once in the public key area to copy the key to clipboard and send it over to computer.
On the OPNSense go to VPN -> WireGuard -> Endpoints -> Edit. Paste in the public key from your phone in the “Public key” text area and hit “Save”.
6. Add a firewall rule on the WAN side to allow the WireGuard traffic in
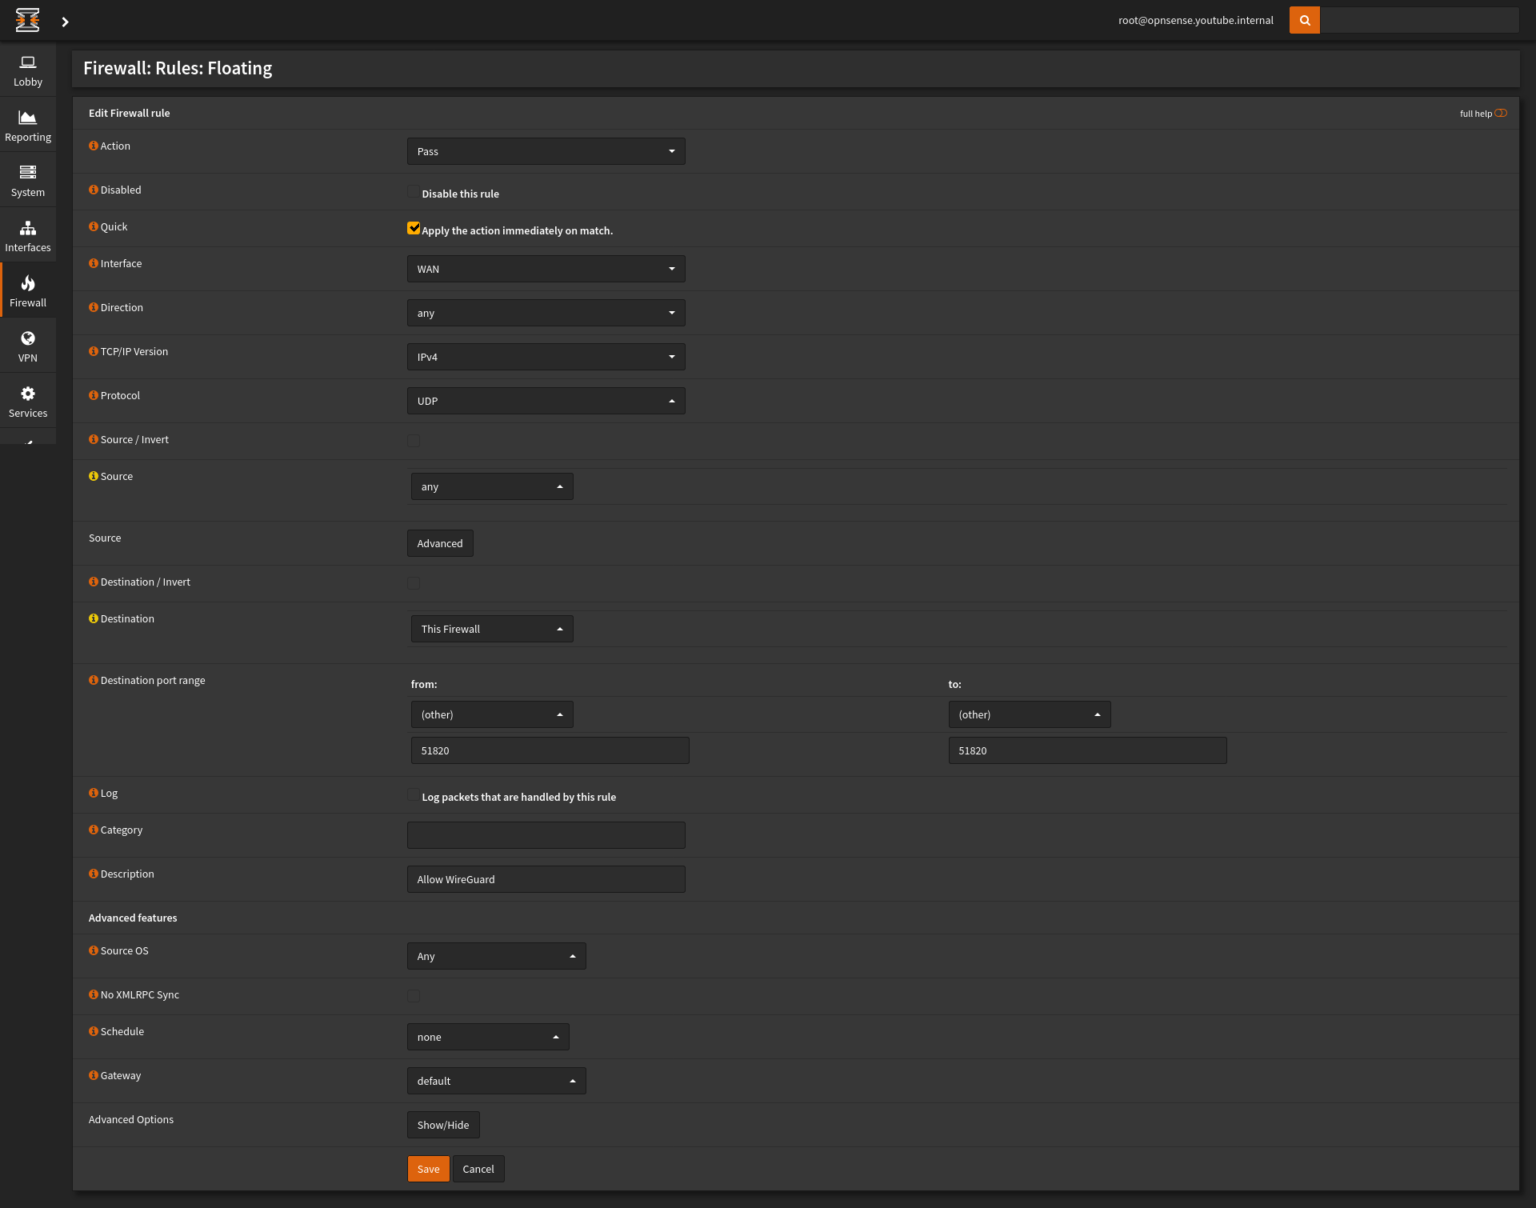
Firewall -> Rules -> Floating -> Add
Action: Pass, Interface: WAN, Direction: Any, Protocol: UDP, Source: Any, Destination: This Firewall, Destination port range: 51820, Description: Allow WireGuard. Enable logging if you want to.
7. Test the connectivity
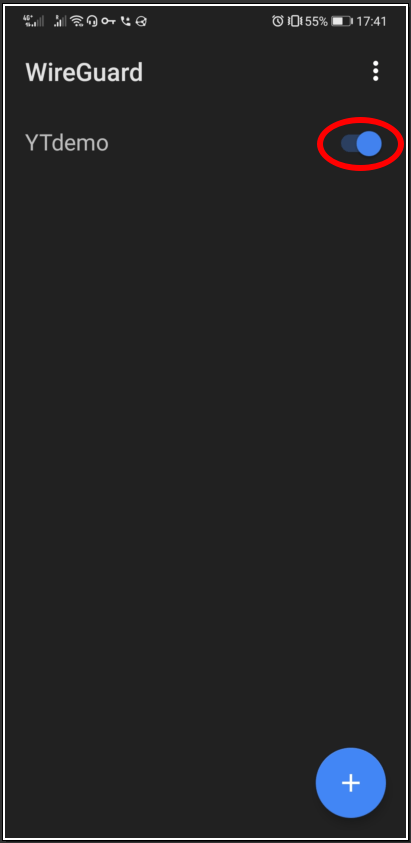
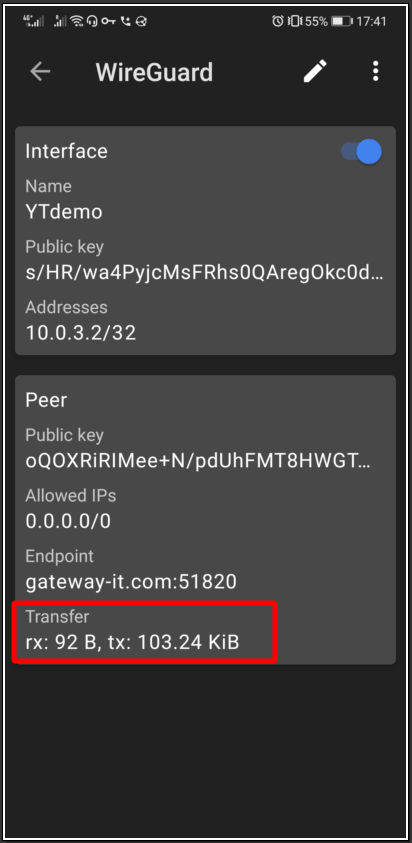
Open up the WireGuard App and activate the connection. You should see the activity under the transfer.
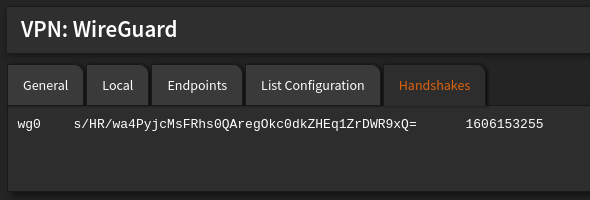
Number of handshakes must not be equal to 0. Check this by going to VPN -> WireGuard -> Handshakes.
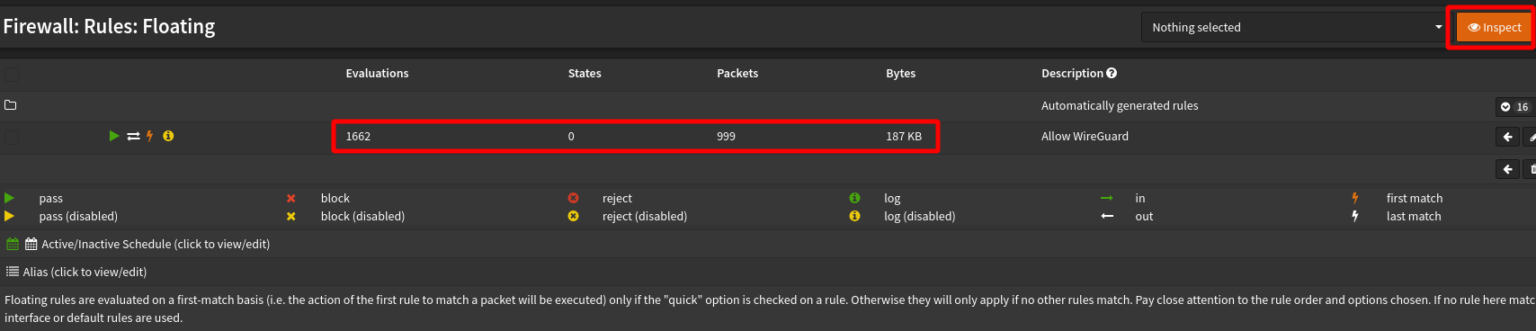
Go to Firewall -> Rules -> Floating and check if the traffic is coming in.
8. Final steps
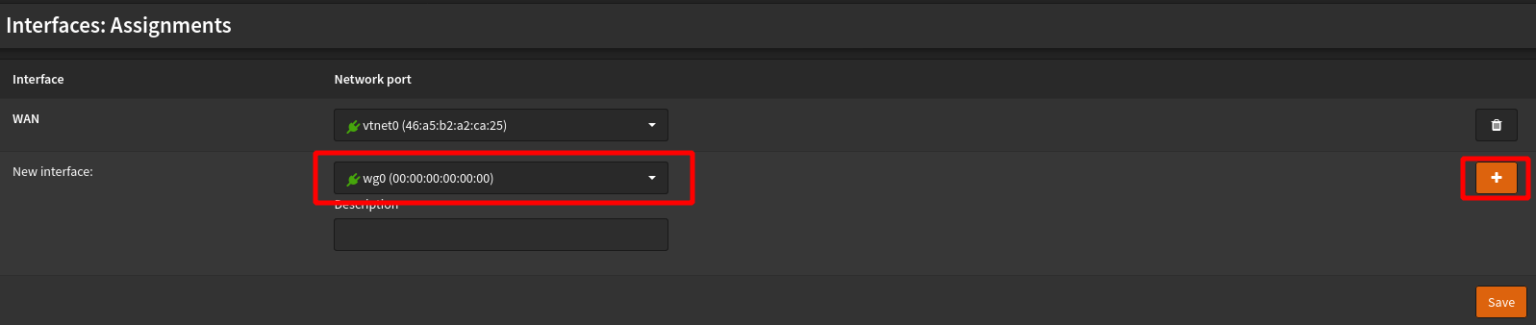
8.1. Add new WG0 network interface
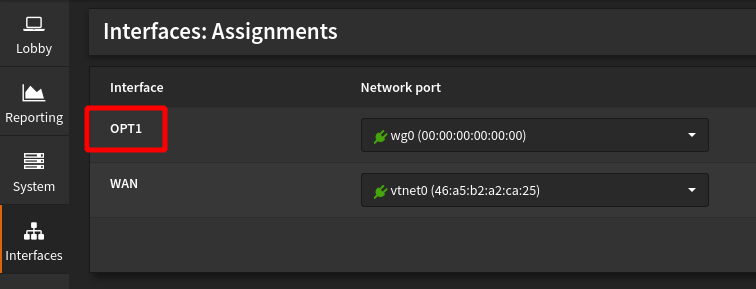
Interfaces -> Assignments -> Choose WG0 [or any number you may have in there] -> Plus
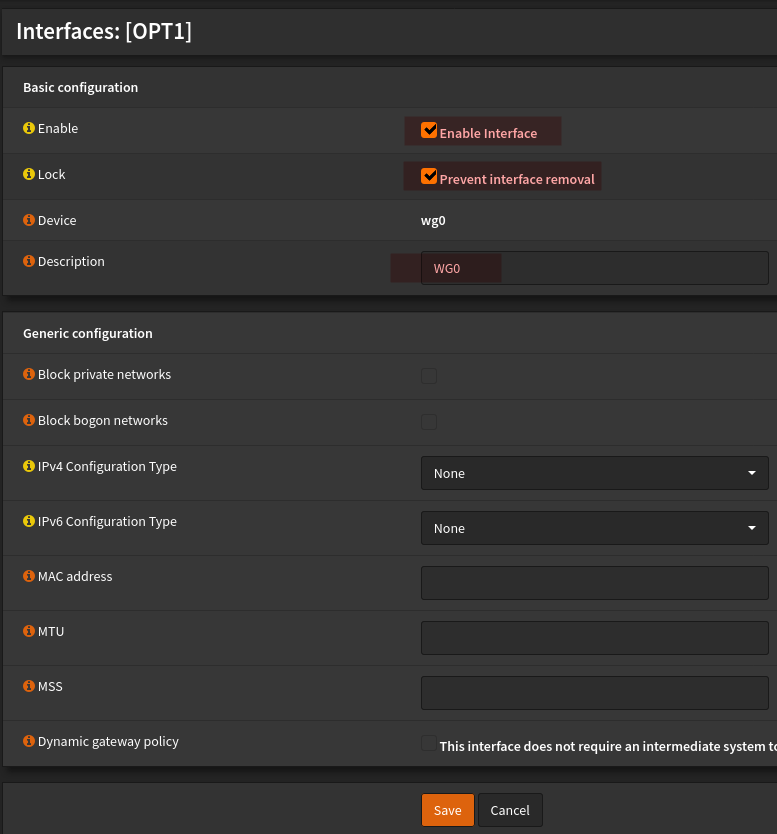
8.2. Edit newly created interface
Interfaces -> Assignments -> OPT1 [or any number you may have in there]
Enable the interface, prevent interface from removal, give it a description and hit “Save”.
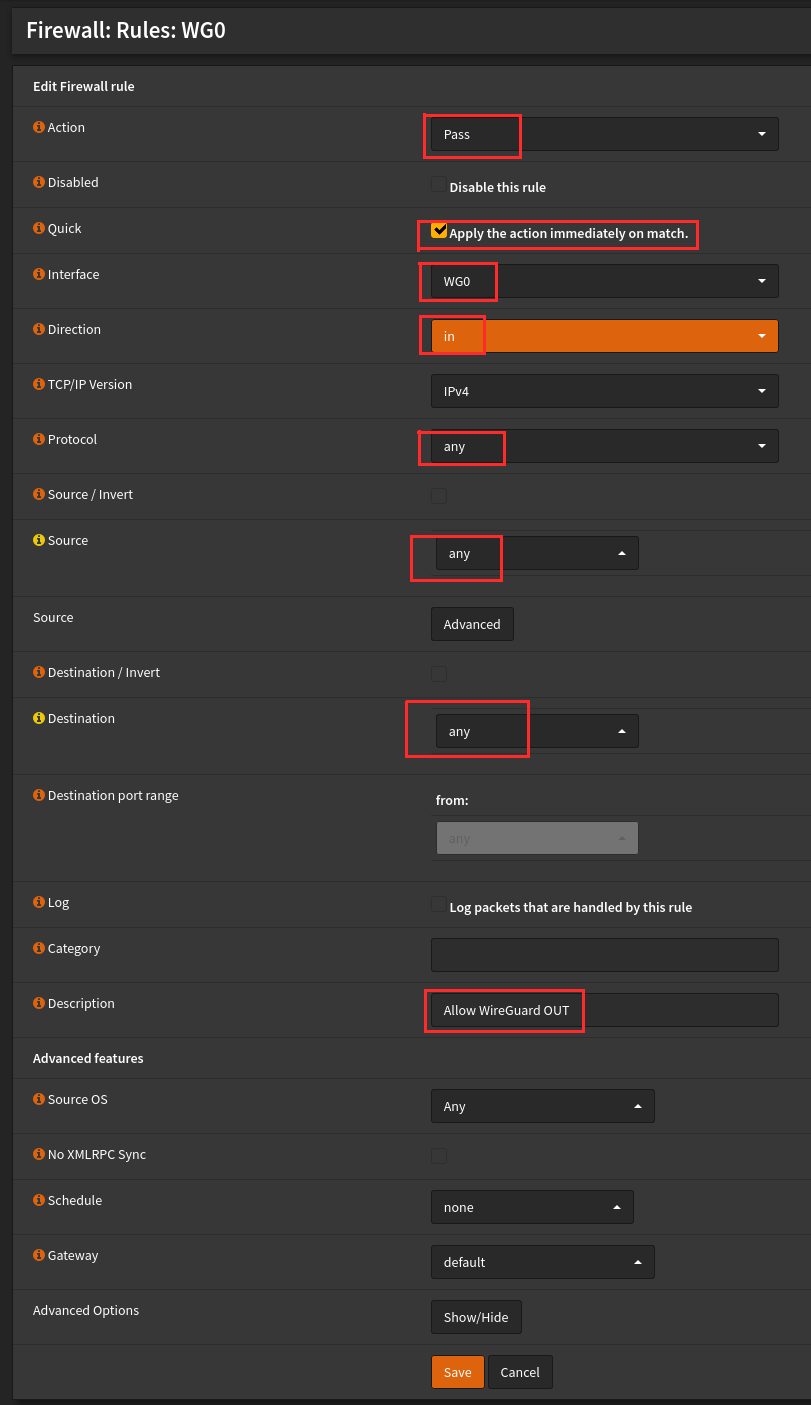
8.3. Add a firewall rule to allow traffic out from our WG0 network
Firewall -> Rules -> WG0 -> Add new rule.
Action: Pass, Interface: WG0, Direction: In, Protocol: Any, Source: Any, Destination: Any, Description: Allow WireGuard OUT. Enable logging if you want to.
Save and Apply changes. Everything should be working now.
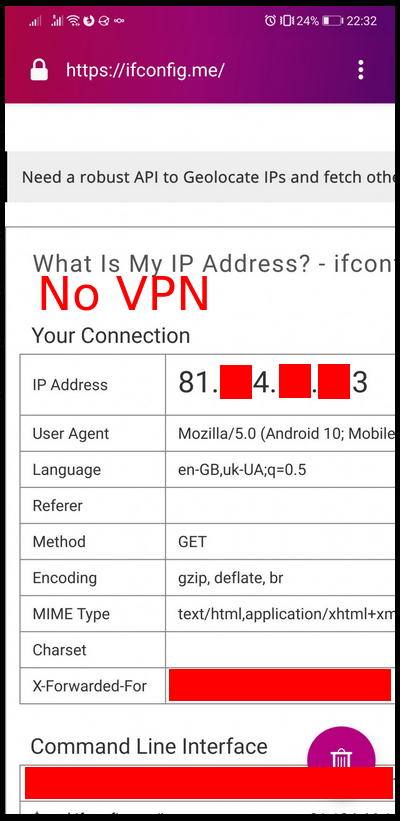
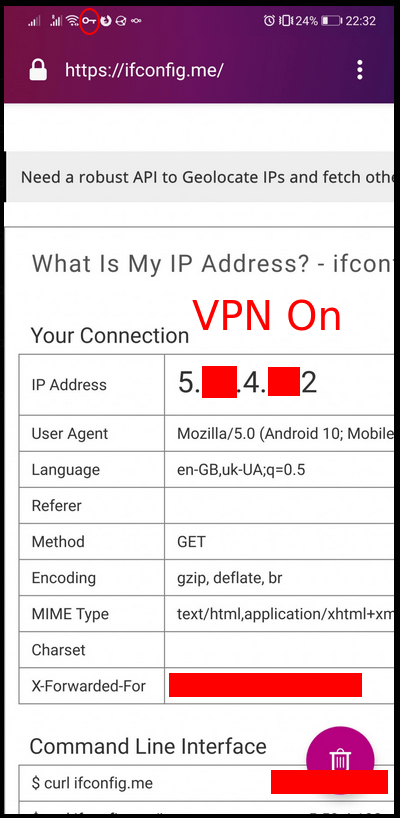
8.5. Go to "ifconfig.me" or "dnsleaktest.com" to confirm that everything works as expected
Consider donating towards our project, to support a future content release